terminal 설정하기
아마 올해 발표될 m5 pro를 구매할 것 같은데, 그 때를 대비해서 terminal 세팅 방법을 총정리 하려고 한다.
목차 보기
아마 올해 발표될 m5 pro를 구매할 것 같은데, 그 때를 대비해서 terminal 세팅 방법을 총정리 하려고 한다.
나는 ghostty를 선호한다. iterm보다 간단하고, 아이콘이 귀엽다.
brew 설치
/bin/bash -c "$(curl -fsSL https://raw.githubusercontent.com/Homebrew/install/HEAD/install.sh)"
먼저 brew를 설치해준다. password는 맥북의 password와 동일하다.
zsh는 이제 default가 되었으니 추가 확장프로그램인 oh-my-zsh만 설치해주겠다.
sh -c "$(curl -fsSL https://raw.github.com/robbyrussell/oh-my-zsh/master/tools/install.sh)"
brew를 설치했으면 ghostty도 brew로 설치할 수 있다.
brew install --cask ghostty
.zshrc 파일 수정하기
vi ~/.zshrc # 이거로 열고
source ~/.zshrc # sourcing 해서 적용하기
편한 편집기로 수정하면 된다. nano, vi, vim 뭐든 상관없다.
테마 적용하기
zshrc 파일을 열고, ZSH_THEME 부분을 수정하면 된다.
ZSH_THEME="agnoster"
agnoster가 가장 간편하긴 하지만, powerlevel10k도 예뻐서 추천한다.
git clone --depth=1 https://github.com/romkatv/powerlevel10k.git ${ZSH_CUSTOM:-$HOME/.oh-my-zsh/custom}/themes/powerlevel10k

# .zshrc
ZSH_THEME="powerlevel10k/powerlevel10k"
sourcing 하면 powerlevel10k 설정을 해야되는데, 보면서 안내에 잘 따르면 된다.
터미널 이름 단순화 하기
prompt_context() {
  if [[ "$USER" != "$DEFAULT_USER" || -n "$SSH_CLIENT" ]]; then
    prompt_segment black default "%(!.%{%F{yellow}%}.)$USER"
  fi
}
이 코드를 .zshrc 파일 맨 끝에 붙여주면, 명령어 부분에 사용자 이름만 남는다.
syntax-highlighting, auto-suggestion
brew install zsh-syntax-highlighting
brew install zsh-autosuggestions
플러그인을 설치해주고, 아래 2줄을 .zshrc 파일에 붙여 넣는다.
source $(brew --prefix)/share/zsh-syntax-highlighting/zsh-syntax-highlighting.zsh
source $(brew --prefix)/share/zsh-autosuggestions/zsh-autosuggestions.zsh
sourcing 해주면 완벽하다.
neofetch
터미널을 열었을 때 os 및 하드웨어 정보를 띄우게 하려면 neofetch를 설치해주면 된다.
brew install neofetch
그리고 마찬가지로 .zshrc에 neofetch를 추가해준다.
sourcing 했는데도 이상하게 보인다면 터미널을 완전히 종료한다음 키면 된다.
neofetch를 적용하면 powerlevel10k랑 충돌나는 부분이 있어서 터미널을 킬 때마다 warning이 나온다.
open -e ~/.p10k.zsh # 설정파일 열고
typeset -g POWERLEVEL9K_INSTANT_PROMPT=quiet # verbose였던걸 quiet로 변경
이렇게 하면 warning 메시지가 나오지않는다.
font
가끔 일부 문자가 인코딩이 깨져서 안보이는 경우가 있다. 이럴때는 font를 바꿔줘야된다.
나는 폰트세팅을 아래와 같이 했다.
brew install --cask font-d2coding-nerd-font

# ghostty/config
font-family = "D2CodingLigature Nerd Font"
font-size = 14
window-padding-x = 4
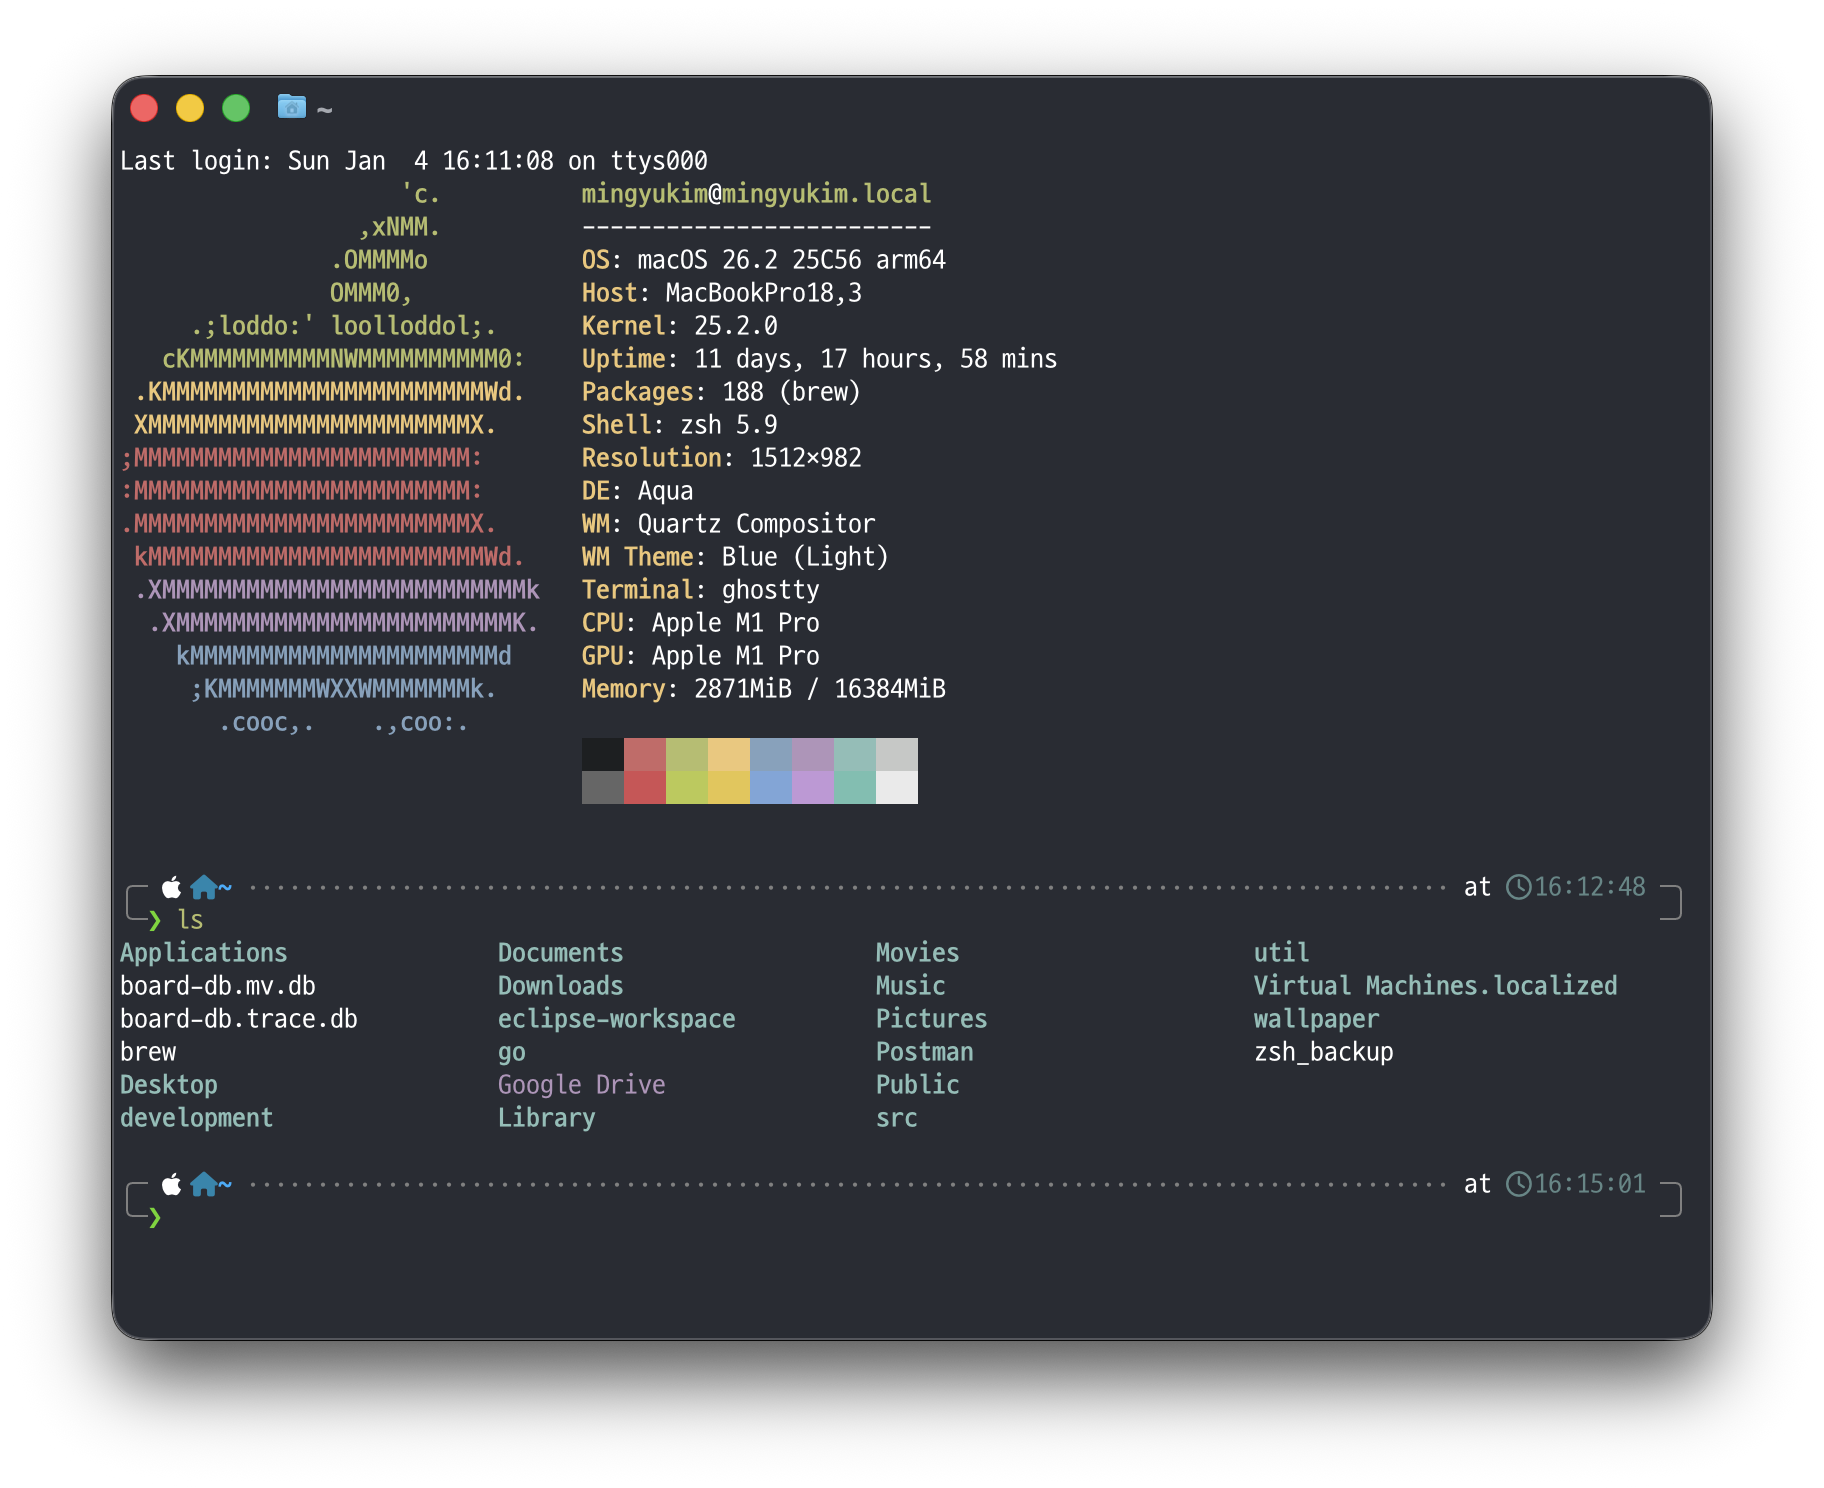
완성된 모습이다!
ghostty 설정
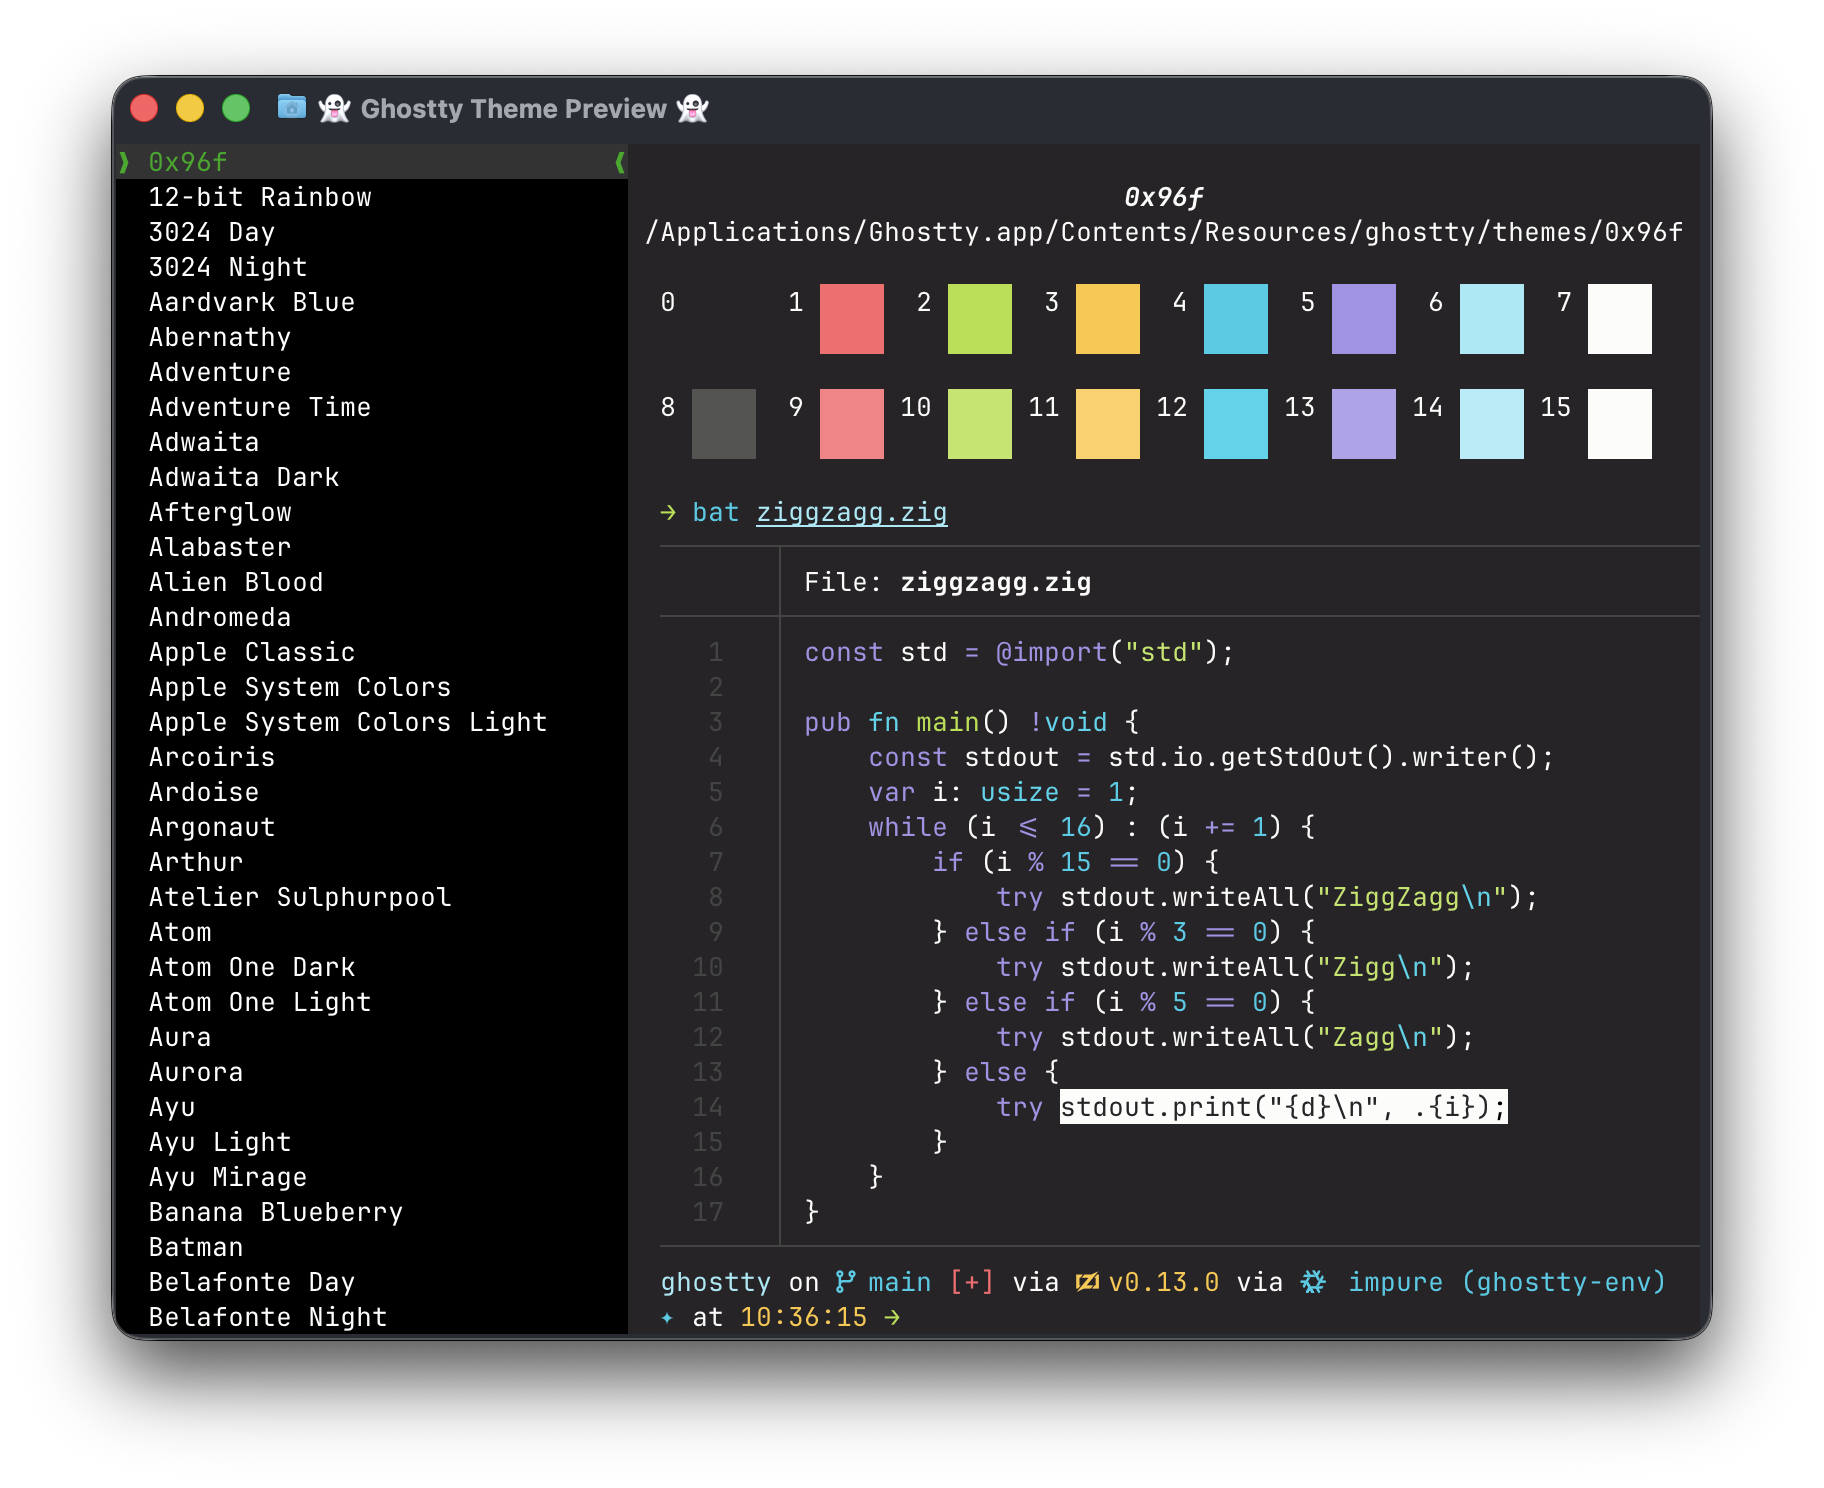
터미널 테마는 ghostty +list-themes 로 간단하게 설정할 수 있다.
폰트는 ghostty +list-fonts로 목록을 확인해서 ghostty의 setting에서 처리하면 된다.
vscode 설정
무조건 vscode에서 터미널 열면 깨질 것이다.
'D2CodingLigature Nerd Font', monospace를 font-familly에 넣어주자.
settings.json을 이렇게 설정하면 된다.
{
    "terminal.integrated.fontSize": 13,
    "terminal.integrated.fontFamily": "'JetBrainsMono Nerd Font', monospace",
}